Verify credentials
Just like it says on the tin, verifiable credentials are verifiable by design. They contain all the proof needed to enable the owner to answer verification requests directly, without third parties.
Once issued the holder of a credential can accept incoming proof requests to present information to a verifying party. In the same way that you would show a loyalty card to prove you are part of a loyalty program in the physical world, verifiable credentials can be used to prove information in a digital interaction.
This guide contains everything you need to know about verifying credentials with Paradym. It will show you how to to:
- Set up a trusted entity.
- Create a presentation template
- Set up a webhook.
- Use a presentation template to verify a credential
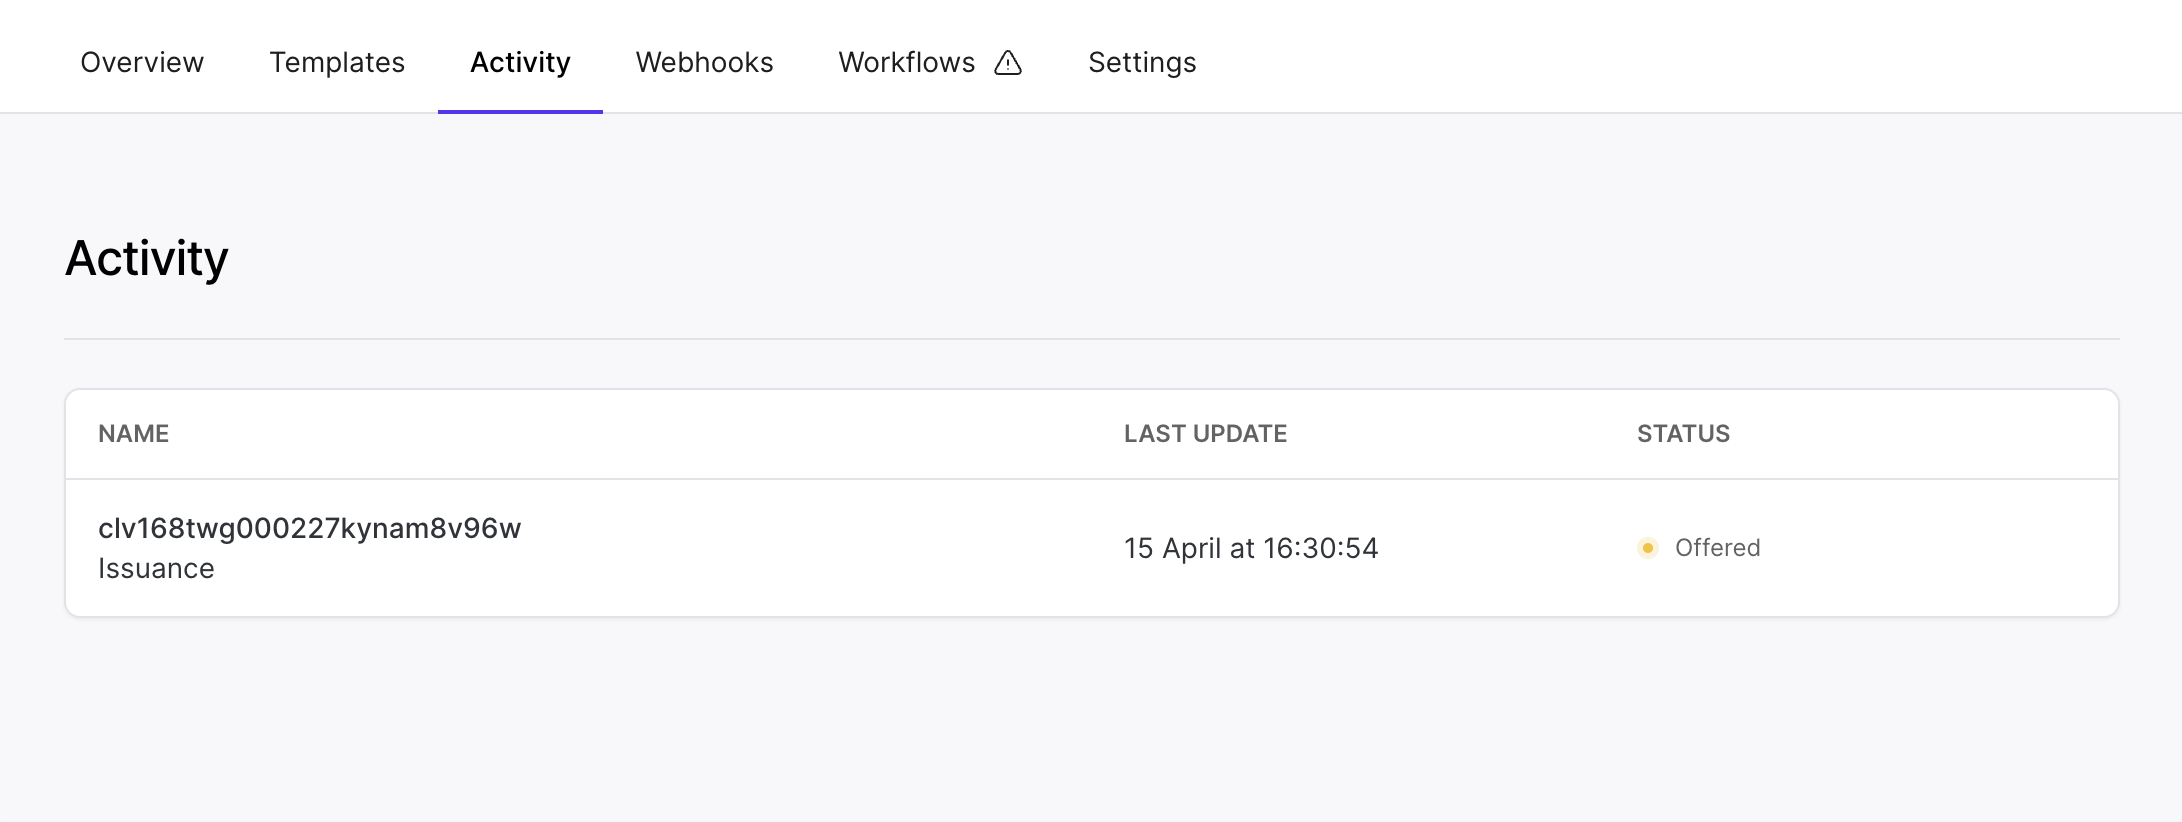
- View your ongoing verifications and their status
Let’s get started! 🚀
Set up a trusted entity
Create a trusted entity following the trusted entities docs.
Create a presentation template
Create a presentation template following the presentation template docs.
Set up a webhook
To listen for the result of a verification, you can set up a webhook. Whenever an event happens within Paradym, we will notify your application by sending the event to registered webhook URL.
We recommend listening one of the the following event sets, depending on the credential format you’re using:
didcomm.verification.dataanddidcomm.verification.failed(When verifying Anoncreds credentials)openid4vc.verification.dataandopenid4vc.verification.failed(When verifying SD-JWT VC and mDoc credentials)
You can read more on configuring webhooks in the webhook documentation. This covers how to register a webhook, as well as verifying a webhook (which is important to ensure the webhook was sent by Paradym).
You can use a site such as Webhook.site or Request Baskets to get a temporary endpoint to receive events and play around with.
Note that webhook events contain sensitive information, and these services do not verify the HMAC of the events. You should not use these services for production webhooks.
Use a presentation template to verify a credential
The Paradym API currently supports issuing SD-JWT credentials and verifying SD-JWT and mDoc credentials over OpenID4VC, as well as issuance and verification of Anoncreds credentials over DIDComm. Read more about the different standards and protocols.
Based on the credential format you selected in the presentation template, you should either request a presentation over DIDComm or OpenID4VC:
- SD-JWT VC (
sd-jwt-vc) and mDoc (mdoc) with OpenID4VC Verification . - Anoncreds (
anoncreds) with DIDComm Verification .
When using Paradym as your verifier, revocation status is checked automatically for SD-JWT VC, mDoc, and AnonCreds credentials. Learn more about revocation.
OpenID4VC API
To verify an sd-jwt-vc and/or mDoc credential using OpenID4VCI based on the created template, we will make a POST request to https://api.paradym.id/v1/projects/{projectId}/openid4vc/verification/request. For detailed information on the endpoint, refer to create OpenID4VC verification request in the API reference.
In the payload below we create a verification request, based on the presentation template we created earlier. Make sure to update the presentationTemplateId to the ID of the presentation template.
Response encryption is enabled by default. You can change that by providing the requireResponseEncryption parameter. We recommend enabling response encryption.
{
  "presentationTemplateId": "clu129ps200043eghxvhz22m1",
  "requireResponseEncryption": true
}
The payload that is returned will look as follows:
{
  "id": "clu6p64z80001c7xudvp2uvts",
  "authorizationRequestUri": "https://paradym.id/invitation?request_uri=https%3A%2F%2Fparadym.id%2Foid4vp%2Fa744eefb-f7e6-444d-8a38-24c0136e893e%2Fauthorization-requests%2F215d6f1a-14fd-47bc-86c8-2b707124718d",
  "authorizationRequestQrUri": "https://paradym.id/invitation?request_uri=https%3A%2F%2Fparadym.id%2Foid4vp%2Fa744eefb-f7e6-444d-8a38-24c0136e893e%2Fauthorization-requests%2F215d6f1a-14fd-47bc-86c8-2b707124718d&qr=true",
  "authorizationRequestDeeplinkUri": "openid4vp://?request_uri=https%3A%2F%2Fparadym.id%2Foid4vp%2Fa744eefb-f7e6-444d-8a38-24c0136e893e%2Fauthorization-requests%2F215d6f1a-14fd-47bc-86c8-2b707124718d&client_id=x509_san_dns%3Averifier.example.com",
  "authorizationRequestDeeplinkQrUri": "https://paradym.id/invitation?request_uri=https%3A%2F%2Fparadym.id%2Foid4vp%2Fa744eefb-f7e6-444d-8a38-24c0136e893e%2Fauthorization-requests%2F215d6f1a-14fd-47bc-86c8-2b707124718d&qr=true&deeplink=true",
  "status": "requested",
  "presentationTemplateId": "clu129ps200043eghxvhz22m1",
  "credentials": [],
  "createdAt": "2023-01-03T00:00:00.000Z",
  "updatedAt": "2023-01-03T00:00:00.000Z",
  "error": null
}
The authorizationRequestUri renders the Paradym invitation page (with a QR code) that deeplinks into a supported wallet, and authorizationRequestQrUri returns that QR code directly as an image so you can embed it on your own website or application.
To link straight into a wallet without the invitation page use authorizationRequestDeeplinkUri. This is a plain openid4vp:// deeplink you can place behind a button or render yourself. authorizationRequestDeeplinkQrUri returns a QR code image whose contents are that deeplink (instead of the universal link).
View the credential data from the verification
Webhook
If you configured a webhook, your application should have received either an openid4vc.verification.data or an didcomm.verification.data event which includes the credential data received in the verification. In case the verification failed, it’s also possible your application received an openid4vc.verification.failed or a didcomm.verification.failed event.
The payload of the openId4VcVerification attribute in the openid4vc.verification.data event, or the didcommVerification attribute in the didcomm.verification.data event, matches the structure from the API.
That’s it! 🚀
That concludes this guide. You now know how to:
- Create a presentation template
- Use a presentation template to verify a credential
- View your ongoing verifications and their status
If you have any suggestions, remarks or questions, join the Paradym Community and let us know. Happy building!