Issue credentials
Verifiable credentials, once issued, belong to the recipient. They contain issued proof of certain attributes that can be presented to a verifying party at a later date. Like showing a drivers license to prove your age in person, the recipients of a credential can show their digital proofs to prove information digitally.
This guide contains everything you need to know about issuing credentials with Paradym. It will show you how to to:
- Initial Considerations
- Create a Credential Template
- Issue a Credential
- View Issued Credentials
Let’s get started! 🚀
Initial Considerations
Before creating a credential template, there are a few things to consider. The first step is to choose which format of credential you want to issue. Each format has its own characteristics, and can influence factors such as available features, security, privacy and efficiency. In addition, the credential format also influences the exchange protocol that is used during issuance:
- SD-JWT VC mDoc Support OpenID4VC Issuance .
- SD-JWT VC Support Direct SD-JWT VC Issuance (no exchange protocol).
- AnonCreds Support DIDComm Issuance .
Knowing the format you want to issue also affects what kind of issuer you can use. Paradym supports issuing credentials with either a DID or with a X.509 certificate. X.509 certificates must be created before defining the credential template.
- AnonCreds SD-JWT VC Support
did:web,did:cheqd:testnetordid:cheqd:mainnet - SD-JWT VC mDoc Support X.509 Certificates.
Paradym supports two optional external integrations during the issuance process when using OpenID4VC Issuance : Authorization Server and Attribute Providers.
We recommend reading through the introduction of those pages in order to see if that is something you’re interested in. Configuring those is optional and can be changed after creating a credential template.
Create a Credential Template
Now that you have already chosen which format and issuer to use, it’s time to create a credential template. A credential template defines the characteristics of your credential, as well as the attributes it will contain. Once created, a template can be used to issue as many credentials as you want.
A credential template does not contain the values of attributes (such as the first name “John”), just the general schematics and structure of the credential, it is not linked to any specific person or personal information.
When creating a credential template, there are a few things you will need to know:
- The format and issuer of the credential.
- The type of the credential you want to issue.
- The attributes your credential will include.
- The validity of your credential.
- Optionally, branding and external integrations.
Creating your first credential template is easiest to do within the dashboard . It gives you a preview of the credential branding, and guides you through configuring the attributes of the credential. However, if you’ve set up a credential template multiple times already, it might be beneficial to create a credential template using the API.
The easiest way to get started with the API is using the interactive API Reference . If you would like to follow along using a custom API client, make sure follow the Quickstart guide. You can read more on interacting with the API.
SD-JWT VC
To create an SD-JWT VC credential template in the API we will make a POST request to https://api.paradym.id/v1/projects/{projectId}/templates/credentials/sd-jwt-vc. For detailed information on the endpoint, refer to the create sd-jwt-vc credential template in the API reference.
{
  "name": "My SD-JWT VC template",
  "description": "This is a description",
  "background": {
    "color": "#FFFFFF",
    "url": "https://example.com/image.png"
  },
  "text": {
    "color": "#000000"
  },
  "type": "UniversityCard",
  "attributes": {
    "first_name": {
      "type": "string",
      "name": "First Name",
      "description": "First name must always be disclosed and is required",
      "required": true,
      "alwaysDisclosed": true
    },
    "last_name": {
      "type": "string",
      "name": "Last Name",
      "description": "Last name does not always have to be disclosed and is optional",
      "required": false,
      "alwaysDisclosed": false
    }
  }
}
mDOC
To create an mDoc credential template in the API we will make a POST request to https://api.paradym.id/v1/projects/{projectId}/templates/credentials/mdoc. For detailed information on the endpoint, refer to the create mdoc credential template in the API reference.
{
  "name": "My mDoc template",
  "description": "This is a description",
  "background": {
    "color": "#FFFFFF",
    "url": "https://example.com/image.png"
  },
  "text": {
    "color": "#000000"
  },
  "type": "org.example.UniversityDoc",
  "attributes": {
    "org.example.UniversityDoc": {
      "first_name": {
        "type": "string",
        "name": "First Name",
        "description": "First name must always be disclosed and is required",
        "required": true,
        "alwaysDisclosed": true
      },
      "last_name": {
        "type": "string",
        "name": "Last Name",
        "description": "Last name does not always have to be disclosed and is optional",
        "required": false,
        "alwaysDisclosed": false
      }
    }
  }
}
AnonCreds
It is not possible at the moment to update an AnonCreds template because the schema and credential definition generated are static. Instead to make changes to an AnonCreds credential template, a new template needs to be created.
To create an AnonCreds credential template in the API we will make a POST request to https://api.paradym.id/v1/projects/{projectId}/templates/credentials/anoncreds. For detailed information on the endpoint, refer to the create anoncreds credential template in the API reference.
The AnonCreds credential template is similar in structure to the other credential templates, but has a few limitations:
- Branding (
textandbackground) are not supported. - Only
stringandnumberattribute types are supported - For attribute properties
alwaysDisclosedis not supported, as AnonCreds credential cannot influence which fields the holder MUST disclose. - For attribute properties
requiredis not supported. All attributes MUST be included in the credential. This is a limitation of the AnonCreds credential format. A fake value (such as ""/“null” or 0) could be used if there is no value. - The
schemaproperty is used instead of thetypeproperty and is not required.
When no schema is provided, Paradym will create a schema for you and host this along with your DID. You can provide an existing schema as the schema property to create the credential template based on the existing schema (whether created inside or outside Paradym). In this case the attributes MUST exactly match those of the existing schema, and schema network (did:web, did:cheqd:testnet or did:cheqd:mainnet) MUST match the issuer identifier (did:web by default).
{
  "name": "My AnonCreds template",
  "description": "This is a description",
  "attributes": {
    "first_name": {
      "type": "string",
      "name": "First Name",
      "description": "First name is required"
    },
    "last_name": {
      "type": "string",
      "name": "Last Name",
      "description": "Last name is optional"
    }
  }
}
For all template formats, the return value will be approximately the same as the payload you provided, with a few extra fields (such as id, createdAt and format) added. The type you provided has been transformed into an URL in the case of SD-JWT VC and
AnonCreds credentials.
Issue a Credential
The Paradym API currently supports issuing and verifying SD-JWT VCs and mDoc credentials over OpenID4VC, as well as issuing and verifying AnonCreds credentials over DIDComm. Read more about the different standards and protocols.
Based on the credential format you selected in the credential template you should choose the issuance flow:
- SD-JWT VC Use OpenID4VC Issuance or Direct SD-JWT VC Issuance .
- mDoc Use OpenID4VC Issuance .
- AnonCreds Use DIDComm Issuance .
OpenID4VC API
If you created your credential template using the dashboard, make sure to get yourself familiar with the API Reference . If you would like to follow along using a custom API client, make sure follow the Quickstart guide. You can read more on interacting with the API.
To issue an SD-JWT VC or mDoc credential using OpenID4VCI based on the created template, make a POST request to https://api.paradym.id/v1/projects/{projectId}/openid4vc/issuance/offer. For detailed information on the endpoint, refer to create OpenID4VC credential offer in the API reference.
In the payload below, we create a credential offer containing one credential, based on the credential template we created earlier. Make sure to update the attributes object to match with the keys of the credential template, and update the credentialTemplateId to the ID of the credential template. The keys in the attributes object must match with the keys you provided when creating the credential template.
{
  "credentials": [
    {
      "credentialTemplateId": "clu921ps300047eghxvhz33m4",
      "attributes": {
        "firstName": "John",
        "lastName": "Doe"
      }
    }
  ]
}
The payload that is returned will look as follows:
{
  "id": "clv168twg000227kynam8v96w",
  "createdAt": "2024-04-15T16:30:54.304Z",
  "updatedAt": "2024-04-15T16:30:54.304Z",
  "projectId": "cluo51f8c000kp0dwmk33uzaj",
  "status": "offered",
  "error": null,
  "offerUri": "https://paradym.id/invitation?credential_offer_uri=https%3A%2F%2Fparadym.id%2Finvitation%2F7d7628cc-8221-4783-a5ce-f0f2b335361f%2Foffers%2Fe5fade58-5145-4b9b-a3bd-7428fbc995b2%3Fraw%3Dtrue",
  "offerQrUri": "https://paradym.id/invitation?credential_offer_uri=https%3A%2F%2Fparadym.id%2Finvitation%2F7d7628cc-8221-4783-a5ce-f0f2b335361f%2Foffers%2Fe5fade58-5145-4b9b-a3bd-7428fbc995b2%3Fraw%3Dtrue&qr=true",
  "offerDeeplinkUri": "openid-credential-offer://?credential_offer_uri=https%3A%2F%2Fparadym.id%2Finvitation%2F7d7628cc-8221-4783-a5ce-f0f2b335361f%2Foffers%2Fe5fade58-5145-4b9b-a3bd-7428fbc995b2%3Fraw%3Dtrue",
  "offerDeeplinkQrUri": "https://paradym.id/invitation?credential_offer_uri=https%3A%2F%2Fparadym.id%2Finvitation%2F7d7628cc-8221-4783-a5ce-f0f2b335361f%2Foffers%2Fe5fade58-5145-4b9b-a3bd-7428fbc995b2%3Fraw%3Dtrue&qr=true&deeplink=true",
  "credentials": [
    {
      "credentialTemplateId": "clu921ps300047eghxvhz33m4",
      "status": "offered"
    }
  ]
}
The offerUri contains an OpenID4VC issuance invitation url which you can open in the browser and it will render a QR code which you can scan with one of the Supported Wallets. The offerQrUri returns that QR code directly as an image, so you can embed it on your own website or application.
If you want to link straight into a wallet without going through the Paradym invitation page use offerDeeplinkUri. This is a plain openid-credential-offer:// deeplink you can place behind a button or render yourself. offerDeeplinkQrUri returns a QR code image whose contents are that deeplink (instead of the universal link).
You can use webhooks to get notified of changes in the credential issuance session.
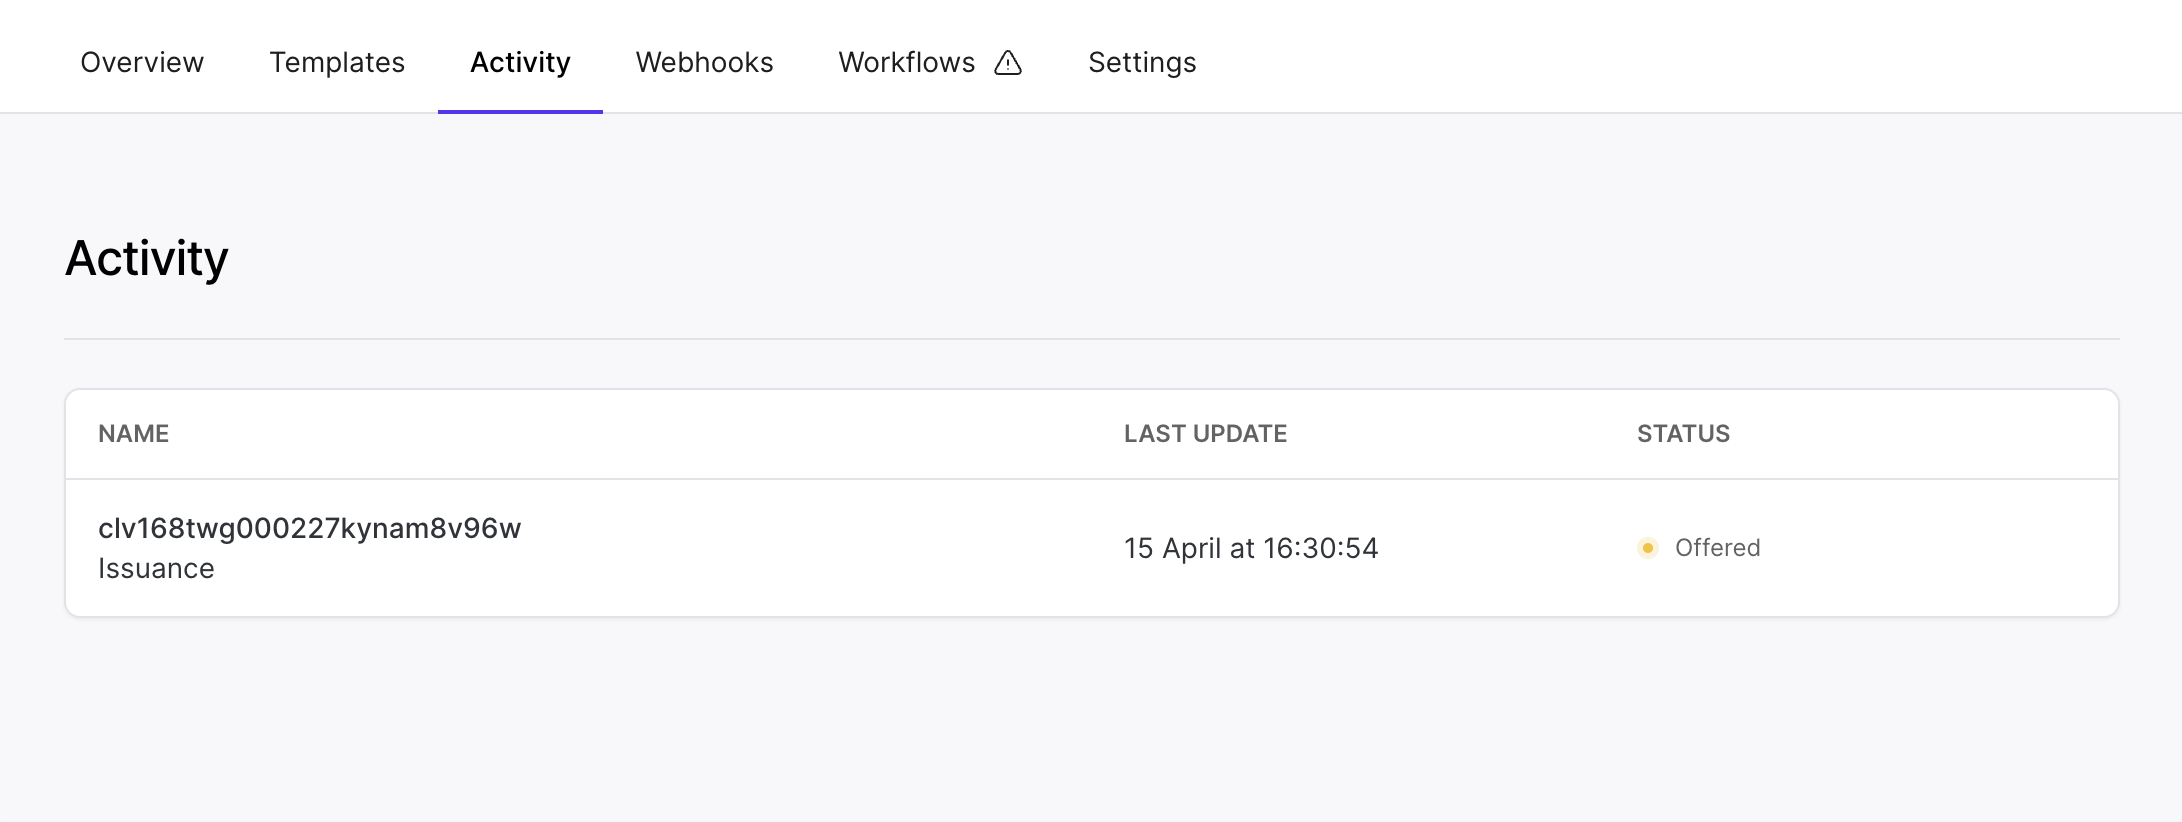
View Issued Credentials
OpenID4VC Issuance Sessions
You can retrieve all your OpenID4VC issuance sessions by making a GET request to https://api.paradym.id/v1/projects/{projectId}/openid4vc/issuance. For detailed information on the endpoint, refer to retrieve OpenID4VC issuance sessions in the API reference.
DIDComm Issuance Sessions
You can retrieve all your DIDComm issuance sessions by making a GET request to https://api.paradym.id/v1/projects/{projectId}/didcomm/issuance. For detailed information on the endpoint, refer to retrieve DIDComm issuance sessions in the API reference.
Issued Credentials
Metadata about all issued credentials can be retrieved by making a GET request to https://api.paradym.id/v1/projects/{projectId}/issuance. For detailed information on the endpoint, refer to retrieve issued credentials in the API reference. This endpoint is mostly relevant for revoking previously issued credentials. See Revocation to learn how to revoke issued credentials.
That’s it! 🚀
That concludes this guide. You now know how to:
- Create a credential template
- Use a credential template to issue a credential
- View your issued credentials
If you have any suggestions, remarks or questions, join the Paradym Community and let us know. Happy building!